Mermaid Tail Knitting Pattern
Yvonne is quite the expert when it comes to knitting, she loves a challenge and can often be found fixing many a knitting problem. Whether it is for staff or a customer, she won't be beaten. In the shop you hear about all sorts of unusual patterns customers are knitting. The type of patterns you will discover whilst pinning away on Pinterest. Recently a lady got chatting to Yvonne about a crocheted mermaid tail she had spotted online. Yvonne's immediate thoughts were a knitted mermaid tail. With her creative juices flowing and her knitting needles clicking Yvonne got to working on a fabulous knitted mermaid tail. Once she had finalised the stitch pattern she was off!
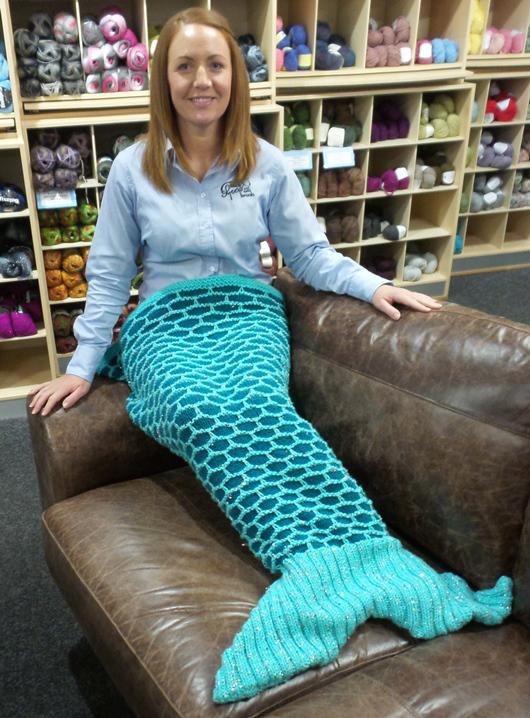
The tail is designed so that a child can snuggle in all the way up to under their arms. Yvonne has created the pattern so that you can adjust it accordingly for the size you require.
Lesley and Jayne have enjoyed modelling the tail for photographs. This tail measures 110cm long, with the width at the top 50cm when the tail is laid flat with back pieces together.
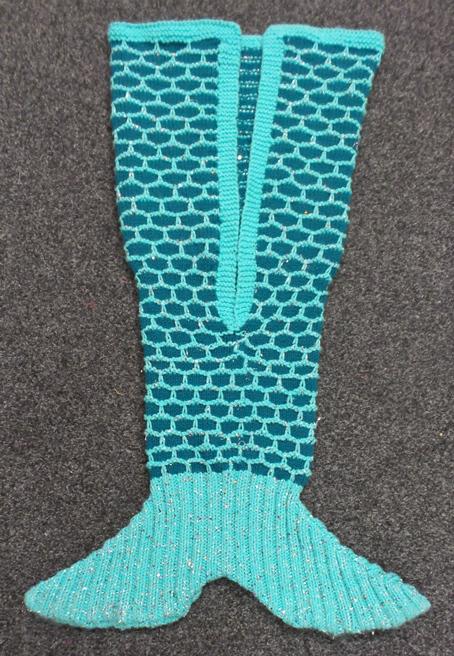
Here is the reverse side of the blanket with a slit to easily get in and out.
Download the PDF pattern from our free patterns page.
Mermaid Tail Knitting Pattern
By Yvonne from Black Sheep Wools
You will need
6mm, 80cm circular needle
A - 3 balls Stylecraft Special Chunky – shade 1422 (Aspen)
B - 3 balls Stylecraft Special Chunky – shade 1062 (Teal)
C - 2 balls King Cole Cosmos - shade 1100
Buy the mermaid tail yarn pack here.
Abbreviations
K - knit
P - purl
Sl - Slip Stitch
K2tog - knit 2 stitches together
Twist yarn - Pick up yarn A and bring under yarn B before knitting the stitch
Cast on 129sts in A using 6mm circular needle.
Knit 7 rows. (knitting back and to, not in the round)
Pattern worked over 12 rows as follows –
1) K5 in A, K7 in B *sl, k7* rep *to* to last 5sts, k5 in A (using 2nd ball of yarn A). Twist yarn to prevent hole.
2) K5 in A, p7 in B *sl, p7* rep *to* to last 5sts, k5 in A.
3+4) As rows 1 & 2.
5+6) K5 in A, K yarns A+C together to last 5sts, k5 in A.
7) K5 in A, k3 in B *sl, k7* rep to last 8sts, k3 in B, k5 in A.
8) K5 in A, p3 in B *sl, p7* rep to last 8sts, p3 in B, k5 in A.
9) +10) As rows 7 & 8.
11) +12) As row 5 & 6.
You must now consider the length you require (continue in full 12 row pattern sets) until you have length required, ending in row 12.
This section = top of blanket to back of knee.
Work rows 1 - 10 from pattern.
Next row k5 in A working yarns A+C together, k2tog. *k3, k2tog, k1, k2tog* rep *to* to last 10sts, k3, k2tog. K5 in A. (99 sts)
Next row as row 12.
Continue in pattern rows 1 – 4 (K5 in between slip stitch, not k7).
Next 4 rows of pattern dec 1st at each end of each row, this will reduce border to 1st each end. (91sts)
Changing to knitting in the round.
Row 1 - 5 k and 7 – 11 k. Row 6 &12 p.
Next row as row 5 of patt to last st (sts are now on circular needle). Join by k2tog (last and 1st st) (90sts). Place a stitch marker at this point.
Next row p to maintain pattern as now working on circular needles.
Continue in patt row 1 – 12.
At this point the length can be adjusted here. Measure the length required from knee to ankle.
When length is reached we need to return to 6mm needles for the tail.
Tail
Working in A+C together.
Returning to 6mm needles starting from stitch marker.
K2, p2, rib for 22sts. P1, turn.
Increase in 1st st. Rib for a further 45sts (46sts).
Place remaining stitches on stitch holder.
Working on 46sts rib for 27 rows. Increase at each end of every row (100sts).
*Rib 50sts, place them on a stitch holder. Continue on remaining st by casting off 2st at centre rib to end.
Work 4 rows dec 1st at centre edge whilst increasing 1st at side edge (48sts).
Continue decrease 1st at centre edge whilst keeping side edge straight for 8 rows (40sts).
Cast off in rib.*
Working on 50sts from holder rep reversing shapings from *to*. This completes the back half of the tail.
Repeat all the above on 50sts on holder to complete front of tail.
Stitch tail together.
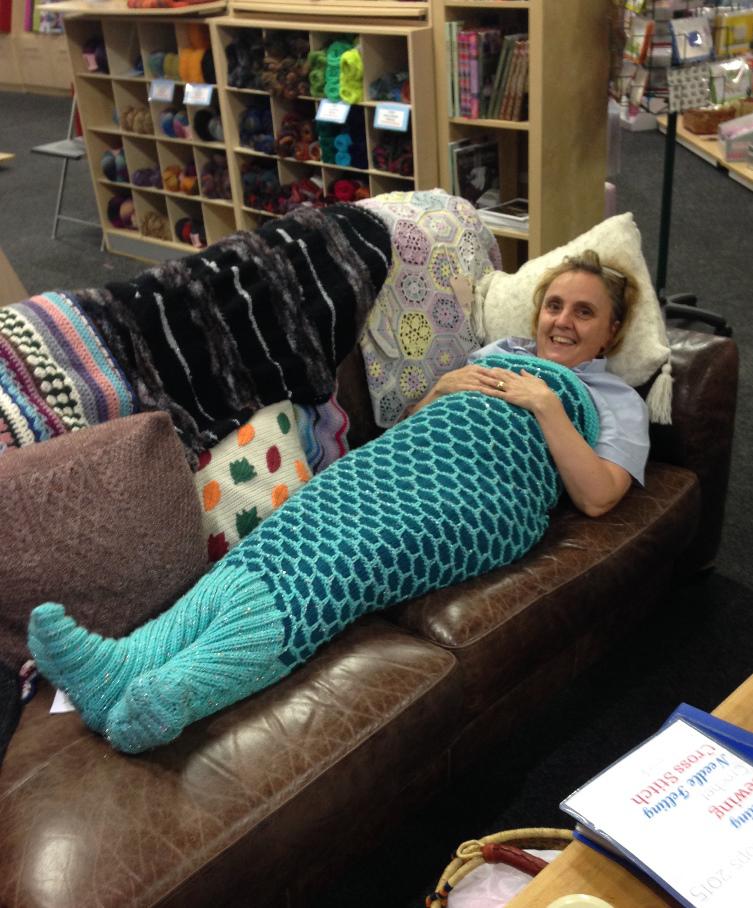
Jayne couldn't resist having a lie down, snuggled up in the mermaid tail after a long day in the tea shop yesterday.
If you make your own tail please share photos with us either on social media or email amy@blacksheepwools.com. Find a downloadable verison of the pattern on our free patterns page.