Knitting in the round
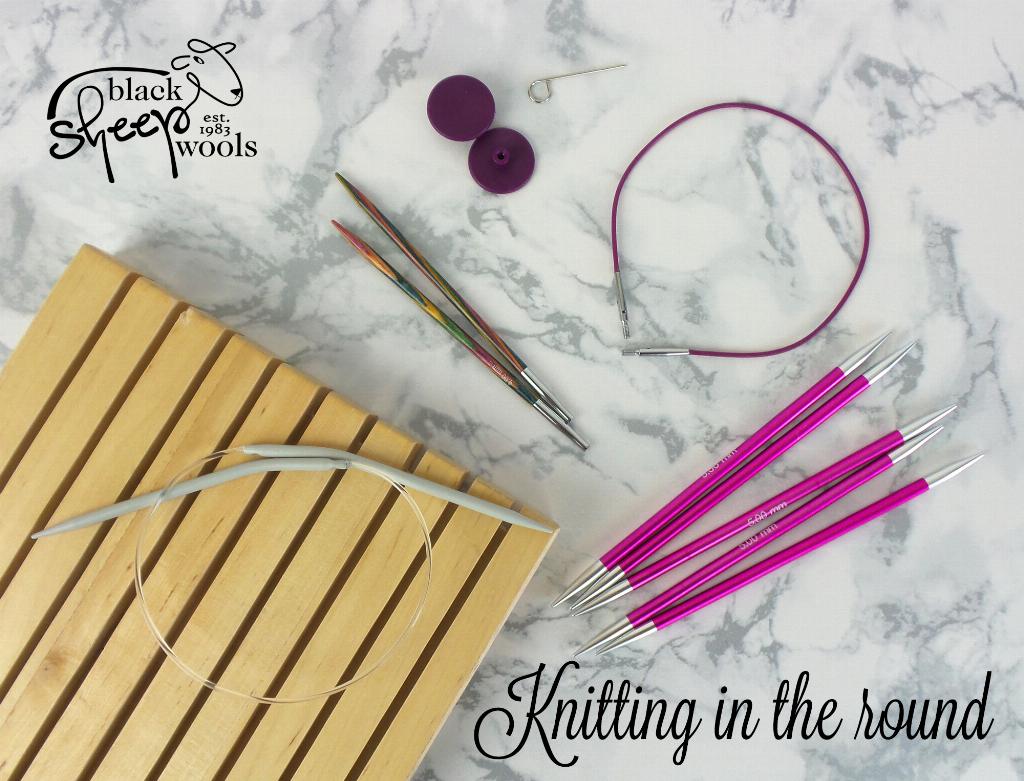
Knitting in the round - do you use a circular knitting needle or DPN's (double pointed needles)? Very often a pattern will suggest one or the other but it is personal preference really. Although some projects are too large for DPN's so a circular needle is required. Then on the flip side working with a teeny tiny number of stitches can only be worked on DPN's. If you are new to knitting and are bamboozled by the thought of knitting in the round then fear not. Carol Meldrum is back with a helpful series of how to videos covering knitting in the round. Carol is a knitting and crochet designer alongside being a fabulous workshop tutor. She is demonstrating how to knit in the round with double pointed needles and how to knit in the round with a circular needle including the magic loop method.There are a variety of different types of needles to use for circular knitting. In the photo below there are a selection of the different ones we stock. Find Milward fixed circulars in a variety of lengths, KnitPro Zings DPN's, KnitPro Symfonie interchangeables
Knitting in the Round - Circular Needle with Magic Loop
The magic loop technique, is a method used to knit in the round with a circular needle, when the length of the wire between the needles is longer than the project.
When using the magic loop technique, you should always have half the stitches being worked on the wire of the circular needle, and half on the points of the circular needle. The loop created by the excess wire, helps you knit in the round more easily.
1) Cast on the required amount of stitches on to a circular needle.
2) With the working yarn to the right, slide the stitches down onto the circular needle wire.
3) Find the centre or halfway point of the stitches, bring the needle points together to the right hand side, and pull the wire through between the stitches to the left. Slide both sets of stitches up on the needle points. The working yarn should be to the back on the upper needle point.
4) Draw the upper needle through the stitches, and lengthen the wire until you have enough flexibility to knit the stitches from the lower needle, and still have excess wire between the stitches on the left hand side.
5) Begin to work across the stitches on the lower needle, insert the upper needle - this is the right-hand needle - to the first stitch on the lower needle - this is the left-hand needle, and knit the first stitch, pull the yarn tight to close the 'gap' between the upper and lower needles.
6) Continue to knit across all the stitches on the lower needle - the first set of stitches have been worked.
7) To work the second half of the stitches, slide all the stitches from the wire, up onto the needle point, so you have both sets of stitches up on the needle points.
8) Then repeat steps 4 to 7 working across each needle in turn to the required length.
TIP - place a marker between the first and last stitch, to help keep track of your rounds.
Knitting in the Round - Double Pointed Needles (DPN's)
Double pointed needles have a point at either end, and can be used to work stitches from either end and are used to work in the round. You can work on three working needles and a fourth to transfer stitches or on four working needles and a fifth to transfer depending on the project.
1) Cast on the required amount of stitches onto a double pionted needle ( DPN) - here we have used 30 stitches.
2) Divide the stitches evenly onto three needles as given by pattern - here we have 10 stitches on each needle.
3) With the right-side facing, and the working yarn to the right, slip the first 10 stitches from the right hand point of the needle purl-wise on to a DPN, then slip the last 10 sts from the left hand point of the needle purl-wise onto a DPN.
4) Make sure the cast on is not twisted, hold all the needles in left hand, with the working yarn and stitches to the back (this will be the third needle).
5) Hold the first needle to the front, insert the fourth DPN into the first stitch of the first needle and knit the first stitch, pull the yarn tight to close the 'gap' between the first and third needle.
6) Continue to knit across all the stitches on the first, then with the spare needle, knit across all the stitches on the second needle second and repeat for the third needle. The first round is completed.
7) Continue working as set, knitting across each needle in turn to the required length.
TIP - place a marker between the first and last stitch, to help keep track of your rounds.
Yarn used in examples is Scheepjes Softftun.