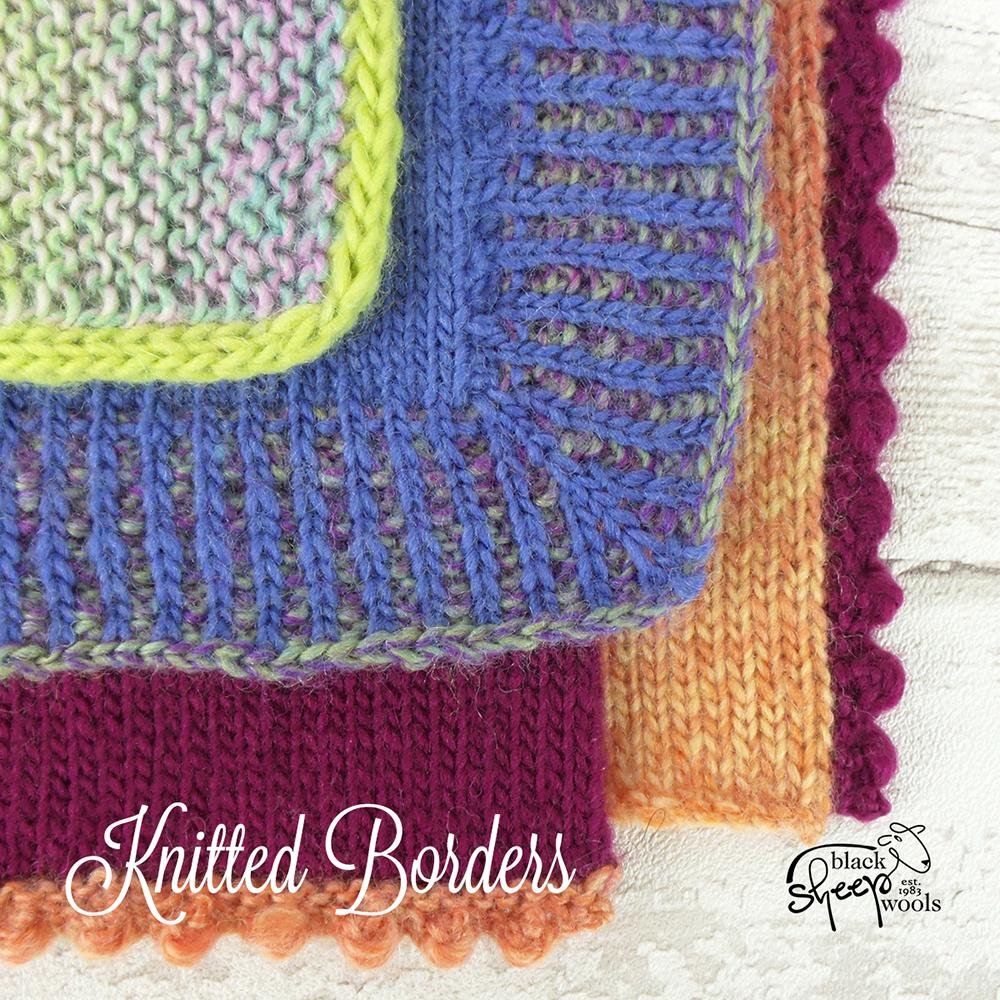
Knitted Borders
Do you prefer adding knitted borders or a crochet border to your project? Very often when you have knitted a blanket, washcloth or any project really, you might want to finish it off with a border. If you are able to both knit and crochet, then you might opt to put down your knitting needles and get out a crochet hook to crochet an edging (if crochet is your thing then take a look at our crochet borders post). A good idea for some, but not everyone can crochet and sometimes that isn't the effect that you want to achieve. Knitting can create such a differentThere are occasions when a knitted edging must be considered before you begin as it is worked into the design as you go. Please be aware of this when you look at the selection we have to share in this knitted borders blog post.
We asked three designers to share a knitted border / edging that they enjoy using on knitted projects - Heike Gittens, Carol Meldrum and Graeme Knowles-Miller. They were all given two contrasting shades of Scheepjes Our Tribe to play with and these are the fabulous knitted borders they chose.
Heike Gittens - Knitted Border
Heike has worked on various projects with Black Sheep Wools over the years. She was our Blogger of the Month back in June 2014 and now teaches workshops at the Craft Barn. She also designs some gorgeous shawls. Pop over to her blog Made with Loops to find out more.
Heike says -
There are two things that I frequently use in my designs, stripes and I-cord edgings. I love the versatility of the I-cord, as it can hide unsightly ends and finishes off a shawl or garment in neat and unfussy way.
I-Cord Border
In the swatch Heike sampled she cast on 45 stitches, this will vary depending on what you are knitting.
Cast on 45 stitches with the main colour and knit one row.
Row 1 (WS): With main colour knit to 3 stitches from end, slip 3 stitches with yarn in front (wyif).
Row 2 (RS): With contrast colour knit 3, then knit to end with main colour.
Row 3: With main colour knit to 3 stitches from end, with contrast colour slip 3 stitches wyif.
Repeat rows 2 and 3 until swatch measure 15cm from cast on. Make sure to twist yarns to avoid holes.
I-cord cast off:
With RS facing and using contrast colour: *Knit 2, knit 2 together, slip 2 stitches back to left hand needle; repeat from * until all stitches have been cast off.
Fasten off and weave in ends.

Graeme Knowles-Miller - Knitted Border
Graeme is a talented knitwear designer who we have previously interviewed here on the blog. He teaches workshops at the Craft Barn and has designed some incredible garments for baa ram ewe and many other yarn brands. We recently added an exclusive mitten kit to our website, designed by Graeme. Take a look at the Blå Votter Mittens.
Graeme says -
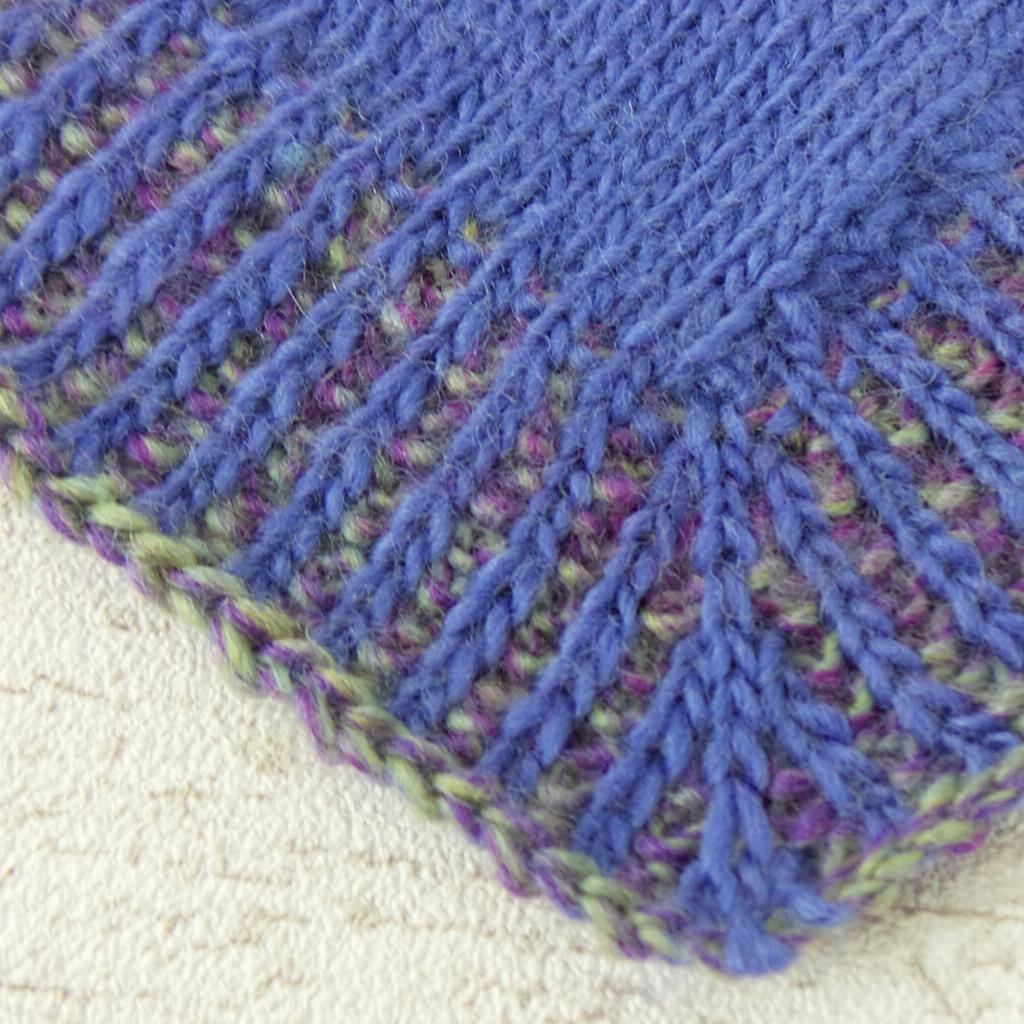
When working a Fair isle project it sometimes seems a waste to put a boring plain rib, and other times you don't really want it to pull in at all but need a neat edge. This is the perfect time for one of my favourite knitting edges, corrugated ribbing. It is worked the same as any other ribbing but uses two or even three colours at once to give fantastically defined straight lines. When working a 1x1 as shown the blue is only ever knit and the white is purled, this means that there is no pull between the stitches providing a textured surface rather than the usual smooth stocking stitch. This edging looks so good it can even be used with the wrong-side facing out and looks just as good.
Corrugated Ribbing Border
Row 1: *Knit 1 in color A, purl 1 in color B; rep from * to end.
Row 2: *Knit 1 in color B and purl 1 in color A; rep from * to end.
To work the same pattern in the round, repeat row 1.
Carol Meldrum - Knitted Border
We have enjoyed having Carol Meldrum at the Craft Barn for many years now teaching a great selection of workshops. Carol also has a number of her own knitting and crochet books, including Freeform Crochet with Confidence. Last year we did a series of knitting how to videos with Carol that were featured on our YouTube channel and blog.
Carol says -
This neat little bobble edging is an easy way to add a spot of texture to your knitting.You simply pick up stitches along your chosen edge, work a few rows of knit, then make the bobbles and cast off at the same time. The bobbles can be spaced out by casting off more stitches before making the bobble, and you can change the size of the bobble by increasing the amount of times you knit into the front and back of the stitch -the more stitches you increase by the larger the bobble will be, but remember to take care when passing the stitches over and off your needles. It makes a great alternative to the picot cast off.
Abbreviations
K knit
st(s) stitches
rep repeat
RS right side
WS wrong side
RHN right hand needle
Special Abbreviation
MB make bobble - Knit into the front and back of the next st 5 times,pass the first 5 loops on RHN over and off the first loop.
Bobble Edging
Pattern note
Bobble edging can be worked along any outer edge fabric.The edging is worked using a multiple of 3 sts. When picking up stitches to make the edging ensure that you use this multiple.If you want more space between your bobbles, pick up a multiple that matches your spacing.
With RS facing pick up and knit a multiple of 3 sts along chosen edge.
Rows 1 and 2: Knit to end.
On the next row, you will cast off and make a bobble at regular intervals.
Row 3 (WS):Cast off first st,*MB, pass rem loop on RHN over and off, cast off 2 sts, rep from * to end.
Fasten off.

We hope you find these knitted borders helpful additions to creating a decorative finish to your projects. If you do give them a go and are sharing your photo, remember to tag Black Sheep Wools on social media and include #blacksheepwools then we ca see how you got on.